

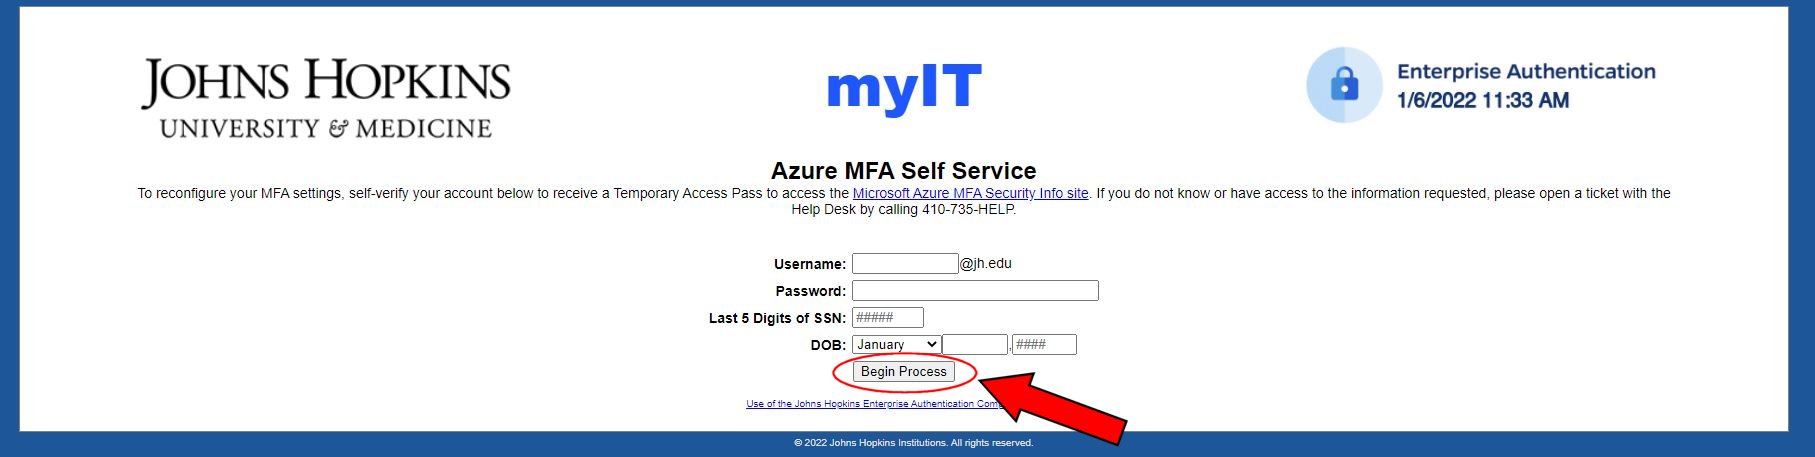
1. Go to https://myit.jh.edu/selfserve
2. Enter your username (JHED ID), password, last 5 digits of your social security number (SSN), and date of birth (DOB). Use the same password as my.jh.edu. When entering your DOB, select the month from the drop-down box, enter the day as a two-digit number, and the year as a four-digit number.
Once you've entered all your information, click 'Begin Process'.
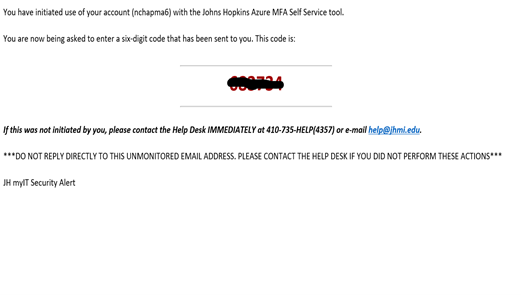
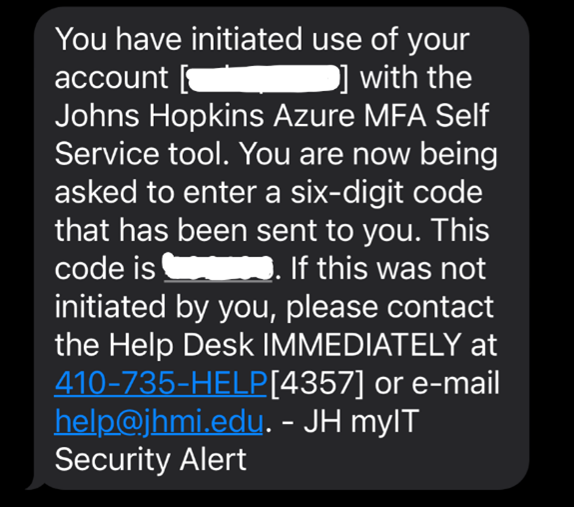
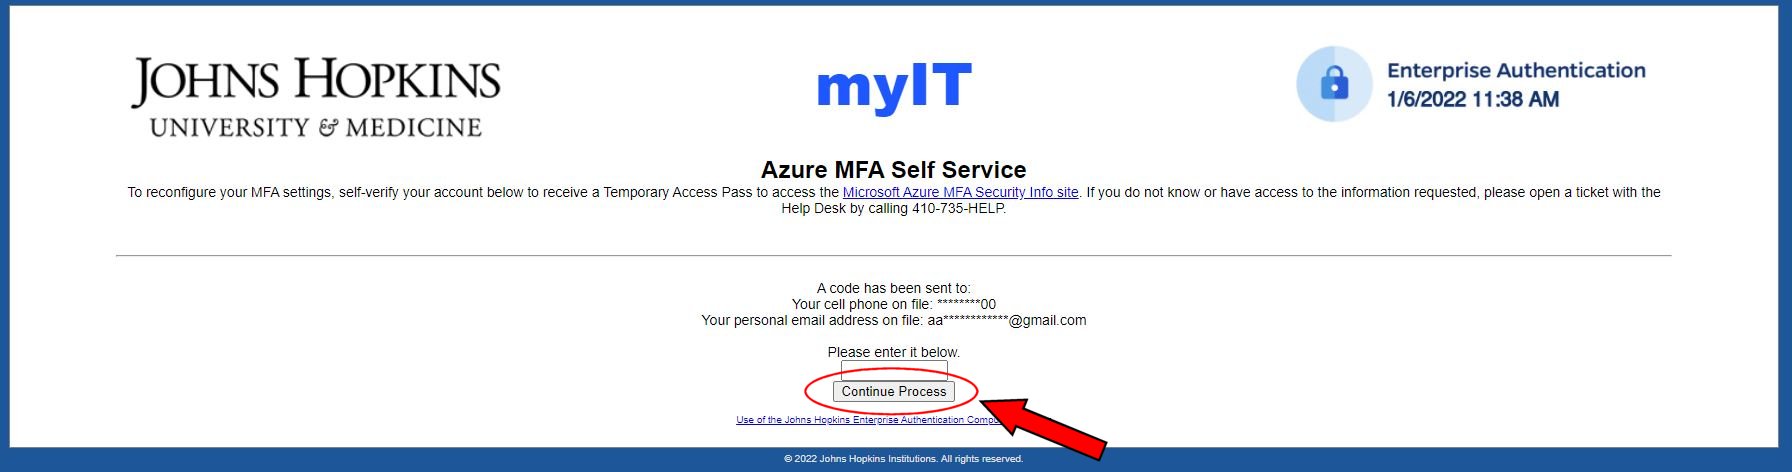
3. You will then see a page instructing you to enter a six-digit code. You will receive this code multiple places where possible (email, text, etc). See below for images of what the email/text will look like. Once you have entered the six-digit code, click 'Continue Process'.
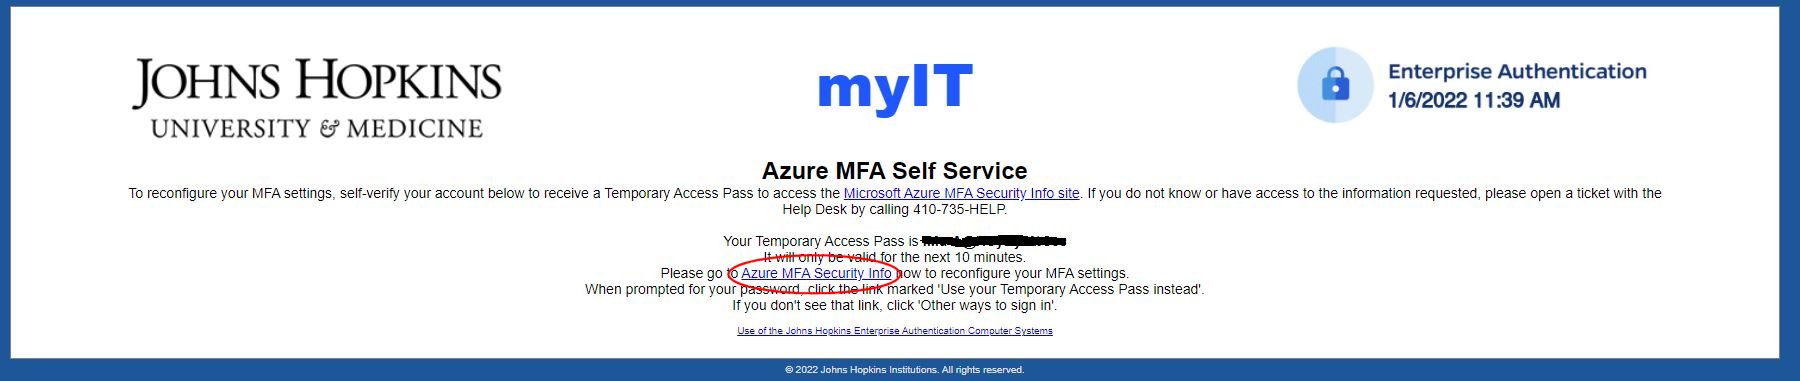
4. You will now see a temporary access pass displayed on the screen. Write this down or copy and paste it for the next step. Click 'Azure MFA Security Info'.
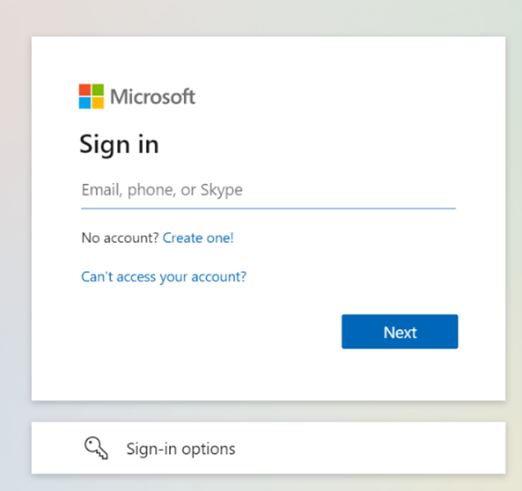
5. You will be taken to a Microsoft login page. Enter your JHED ID followed by @jh.edu. (e.g., if your JHED ID is ljackso1, enter ljackso1@jh.edu) Then, click 'Next'.
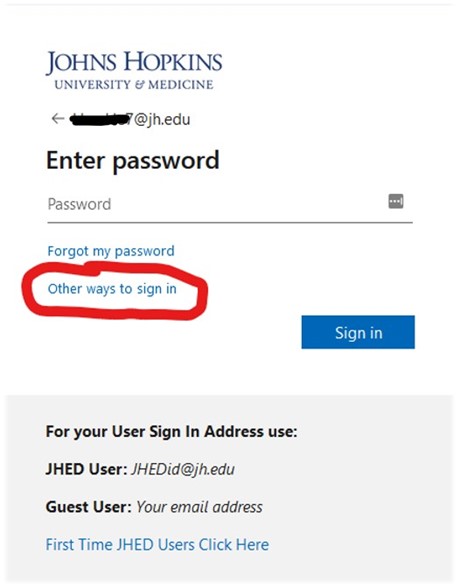
6. Click 'Use your Temporary Access Pass instead'.

If you see 'Other ways to Sign in' instead, click that, and then click 'Use Temporary Access Pass'
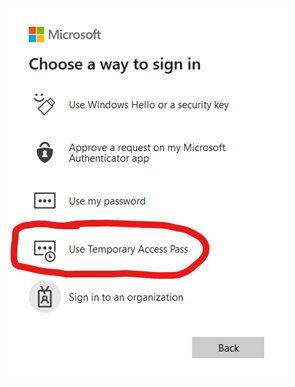
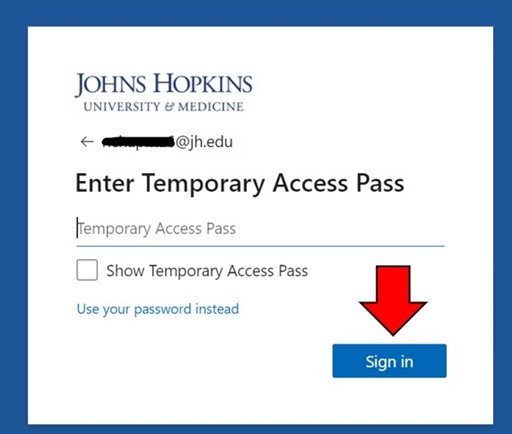
7. Enter the temporary access pass that you obtained in step 4, then click 'Sign in'.
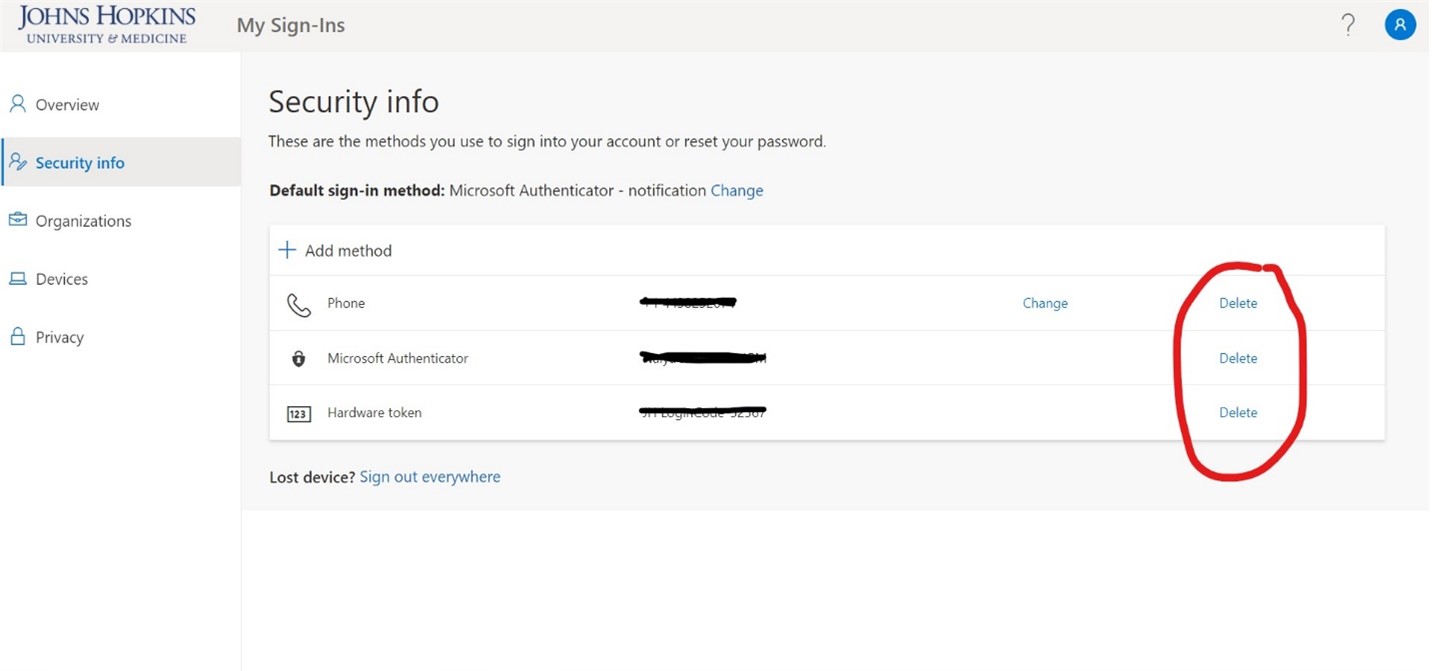
8. You will now see the following screen that has 'Security Info' at the top. The methods that you have listed will vary. Click 'Delete' on the right side of each method before proceeding to the next step.
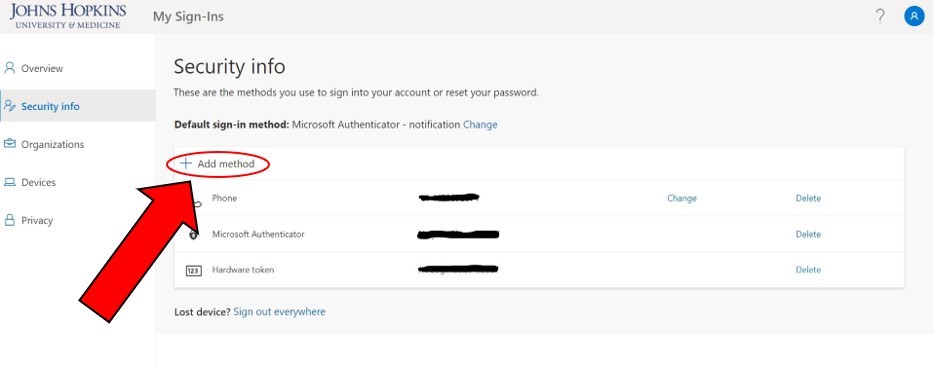
9. Click 'Add Method'
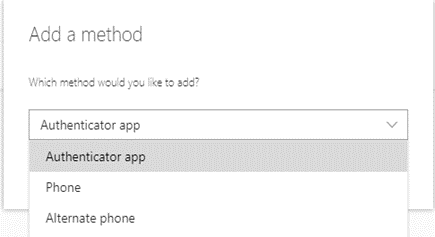
10. Select 'Authenticator App' and click 'Add'.
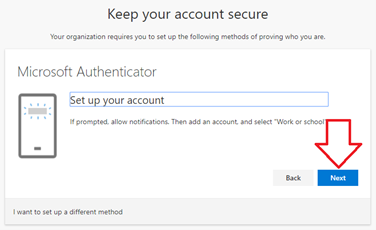
11. Click 'Next'.
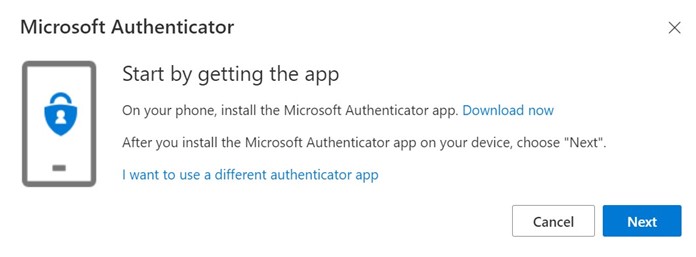
12. Install the Microsoft Authenticator App from the App store or Play store. Both iPhone and Android versions function identically. On the app, add new account (tap the plus sign in the right-hand corner) then select 'Work or school account'.
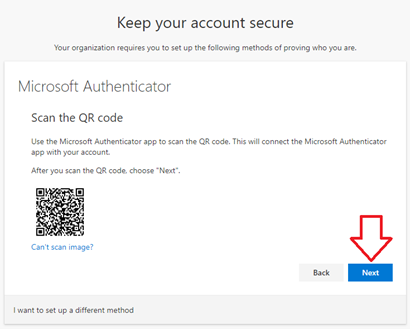
13. Scan the QR code on your computer screen with your phone (Note: scanning the above image will result in an error). When scanning is finished you should see a six-digit code. Click 'Next'.
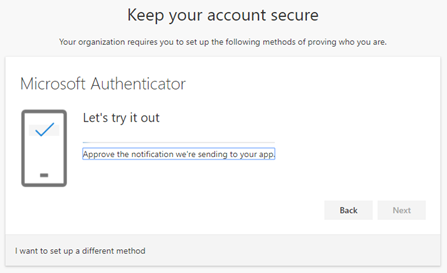
14. You will then see that a notification is being sent to your phone. Approve the notification on your phone. Click 'Next' when you’re done.
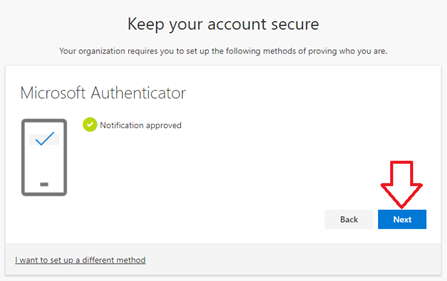
15. Click “Done” to complete your enrollment.
Doing so will help prevent you from needing to use this tool again, by giving you a backup method to get in to your account.
1. Click 'Add Method'.

2. Select Phone from the dropdown list, then click 'Add'.
3. Enter your cell, home or office phone number in the 'Enter Phone Number' field
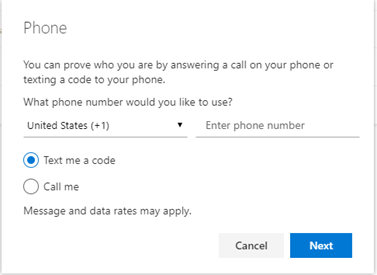
4. Select whether you would like to receive a text or call. If you select text, enter the 6-digit code. If you select call, answer the call from Microsoft and press #.
Once you’ve completed all of these steps, you have successfully added the necessary methods to authenticate when logging into my.jh.edu.